
Note: In this blog post I show how to load a certificate from StartCom into Azure. They've subsequently had some pretty serious issues related to WoSign and I would not recommend getting a StartSSL certificate any more. Instead, check out How to get your SSL for free on a Shared Azure website with CloudFlare; this approach is preferable in many ways.
I write a lot about SSL, mostly in relation to people getting it wrong to various degrees or in some cases, not having it at all. You hear all sorts of excuses why:
“Oh but it doesn’t matter that my login page loads over HTTP, it posts to HTTPS”. Wrong, it does matter.
“Ah, you can’t see HTTPS in the address bar but my login form is an HTTPS page embedded in an iframe so it’s secure”. Also wrong, it’s not secure.
“It’s not worth the hassle and expense of the certificate to implement SSL on our site”. Let’s debunk that one here today.
This is the age of cloud and in the age of cloud everything is doable instantaneously and for almost no money, right? Well mostly right, when I recently configured SSL in Azure for my Hack Yourself First website, I did hit a couple of hurdles around taking the information my certificate authority provided and making it actually work in Azure. Thing is though, it’s actually profoundly simple when you know how to join all the dots.
So here it is, the complete guide to getting yourself a freebie certificate and making it all work in Azure distilled into 5 easy steps. Ok, 4 easy steps plus a bit of mucking around with the certificate authority but it’s still pretty easy. There’ll be no more excuses about barriers to SSL heard here!
1. Create a web site
This is dead easy but first things first: ensure you have an Azure account then jump on over to manage.windowsazure.com and log in. See this big button down in the bottom left?

It creates new stuff! Click it.
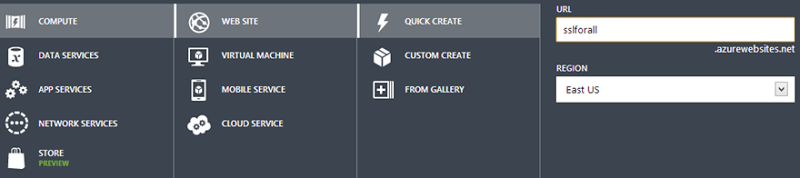
That done, we now choose what new stuff we want and in this case it’s going to be a compute service that’s a web site and we’ll just do a quick create and whack it over in the west of the US:
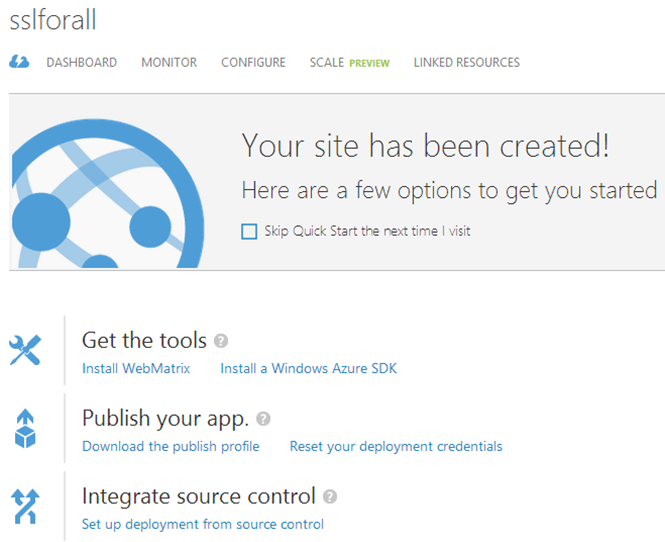
That’s it – you’ve got yourself a website! You should now see it appear at the top of the page like this:

Hit the URL in the far right column and you’ll see something like this:

You can see from the earlier image that the URL you get is [my site name].azurewebsites.net and the site you see above is the HTTP version but here’s the thing – you can also hit it over HTTPS. By going to https://sslforall.azurewebsites.net you’ll get exactly the same resource with the following certificate:
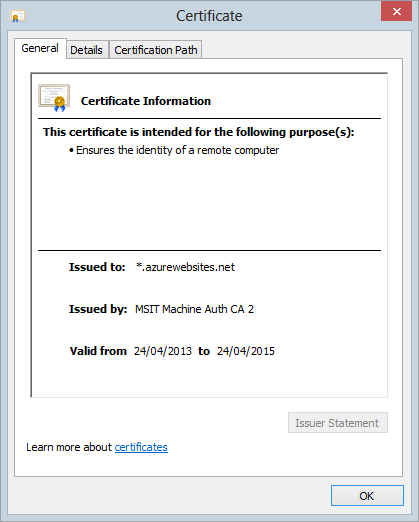
It’s just a wildcard cert for *azurewebsites.net and this may even be just fine for your purposes if all you’re doing is some testing. But let’s keep going and assume you actually want to stand up a real live website on a proper domain with a dedicated cert. Let’s get the first part of that sorted next.
2. Configure Azure for your custom domain
Remember the earlier screen showing the website name, the “Running” status and the URL? Let’s click the arrow on that guy which will take us to the overview page which looks like this:
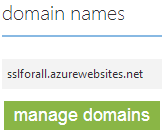
Jump into the “Configure” section and then scroll down to “domain names”:

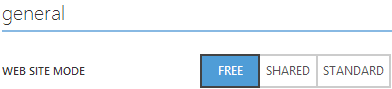
Guess what? “Custom domains can only be used when in the Shared or Standard modes”! You see what we’ve got here by default is a “Free” website which is great (because it’s free), but bad because it’s not really intended for production purposes which is why you only get the azurewebsites.net domain. Let’s follow that link about scaling your site:
Now we could just jump into a “Shared” site but I’ll save us an extra step later and tell you now that it ain’t gonna work because if you want to add an SSL binding later on you need a “Standard” site. You can read the difference between them and the impact on pricing over on the Azure Calculator.
Anyway, select “Standard”, leave everything else at the defaults then save it and head back over to “Configure” and down to “Domain names” where things now look a lot more promising:
Hit “Manage domains” and enter the name you want to bind to the site. For the sake of simplicity I’m going to use a subdomain of troyhunt.com but you can follow exactly the same process for any other domain, it doesn’t have to be a subdomain. Here’s how it not looks:
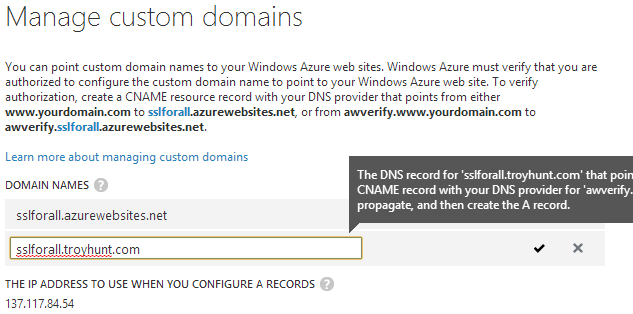
Right… After typing the domain in, Azure heads off and does some DNS snooping after which it decides that the domain isn’t pointing at Azure. There’s a rather large annotation that appears which says this:
The DNS record for 'sslforall.troyhunt.com' that points to 'sslforall.azurewebsites.net' could not be located. If you want to configure an A record, you must first create a CNAME record with your DNS provider for 'awverify.sslforall.troyhunt.com' that points to 'awverify.sslforall.azurewebsites.net'. First allow the resource record to propagate, and then create the A record.
Ok then, let’s go and get that domain sorted then we’ll come back.
3. Set the domain up
How you do this will depend on your choice of registrar. I’m using GoDaddy but the concepts have equivalent paradigms with other hosts. The main thing is that I need to configure the domain so that there’s a CNAME entry for the azurewebsites.net address of my site. Here’s how my domain entry now looks on GoDaddy:

DNS can sometimes be a bit of a funny beast and you never quite know how long it’ll take for zone file changes to propagate. However between GoDaddy and Azure I’ve always found things to be near immediate so it’s back over to Azure, repeat the process of adding a custom domain and guess what? This is what:
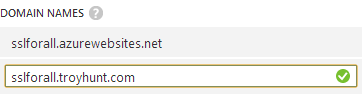
Green tick equals good. Save that, hit up your custom domain name and badaboom! 5 minutes in and everything just works – you can now hit your Azure website via the custom domain name. Now it’s time for SSL.
4. Request an SSL cert
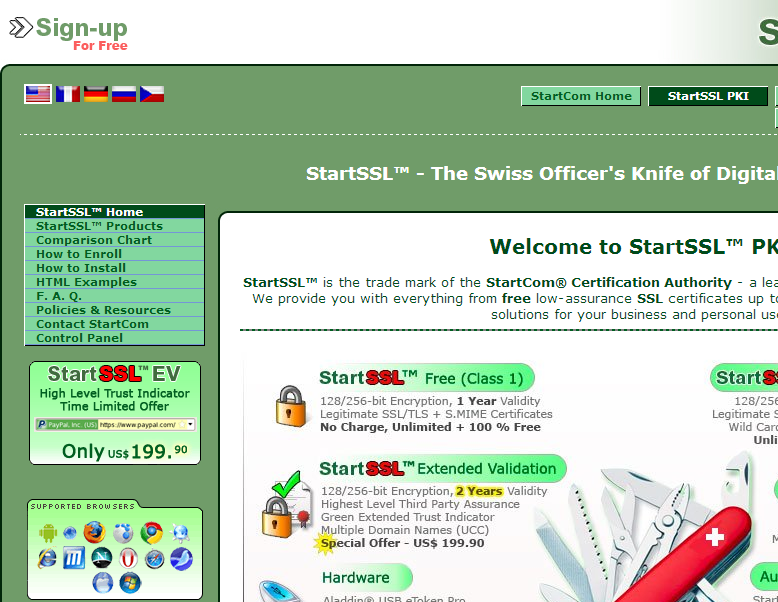
This is where things get a bit more interesting and as with GoDaddy, the process will differ depending on your choice of SSL provider. I want a totally, 100% free cert so I’m going to use StartSSL. I’ve been using these guys for quite some time now and have been very happy with everything so here’s how to make it work with Azure.
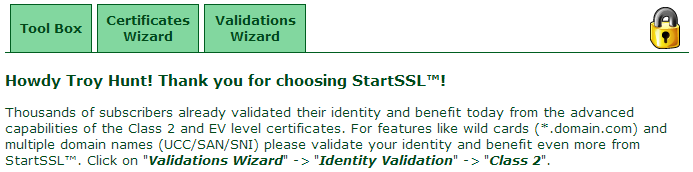
I’m going to assume you’ve already registered for a free account and got that working. From their home page, jump on over to the “Control Panel” link in the nav on the left:
It’ll give you a few different authentication options depending on whether you’ve gone through the process before or not. Once you’ve got that sorted it’ll know who you are and present a few different options:
Before you can go and request a cert you need to validate your ownership of it so let’s jump over to the “Validations Wizard” tab:
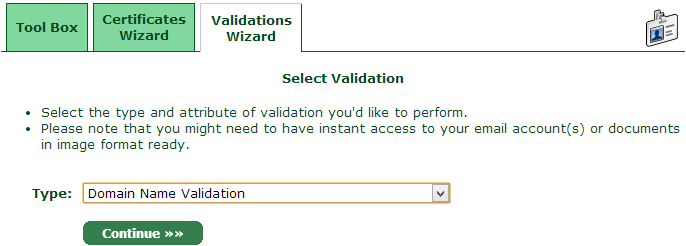
Naturally it’s a domain name we want to validate ownership of so select that then enter the domain name:
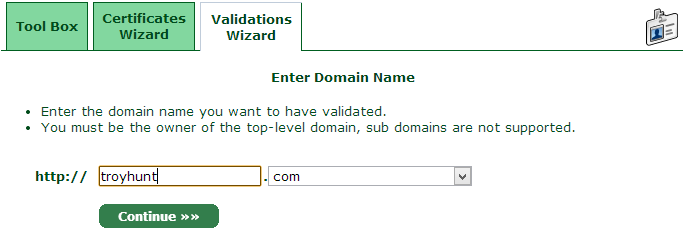
It doesn’t matter that I ultimately want a cert for a subdomain of troyhunt.com, this is all about establishing my ownership of the name. Continue on from there then select the preferred verification address which may either be a mailbox on the domain or the address stored against the registration record:

You’ll get an email pretty much immediately from which you can grab the verification code and whack it into the validation wizard:
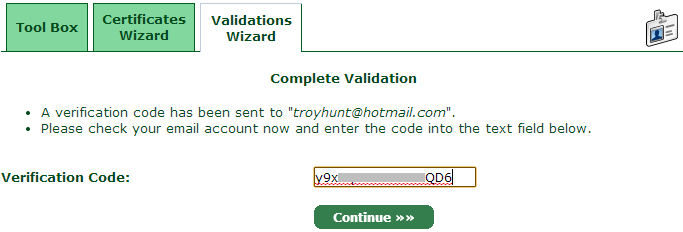
That’s now the verification done, let’s jump over to the “Certificates Wizard” and actually get ourselves a cert!
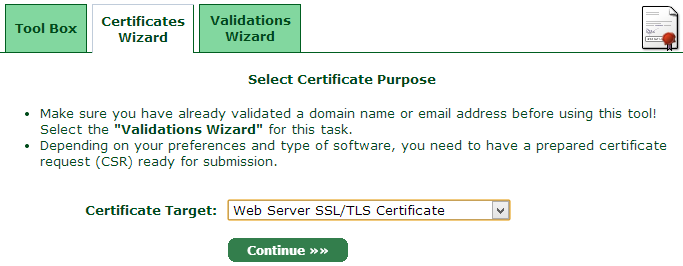
Obviously we’re after a “Web Server SS/TLS Certificate” so select that guy then get on with things. Now it’s time to generate a private key:
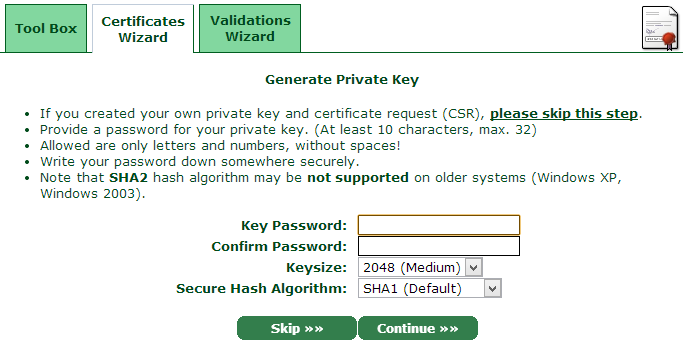
I’ve just generated a totally random password for the key then left everything else at the defaults (note: this is for the sake of simplicity, assess whether this is the correct path for your specific needs). That done, you’ll now get the private key:
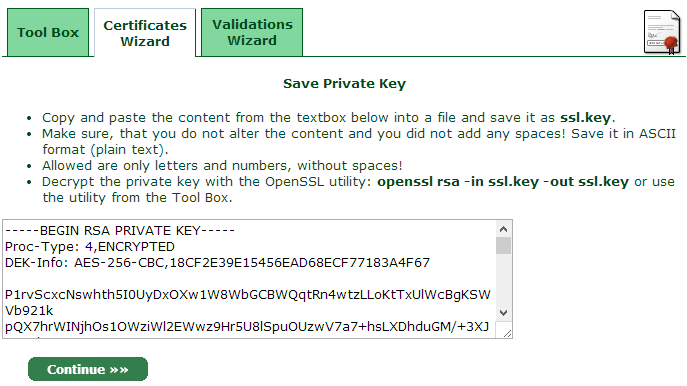
What we’ve got ourselves now is an encrypted private key. Goodo, let’s now continue to the next step:

The domain I’ve just validated is now ready to rock and roll so select that and continue on from there:
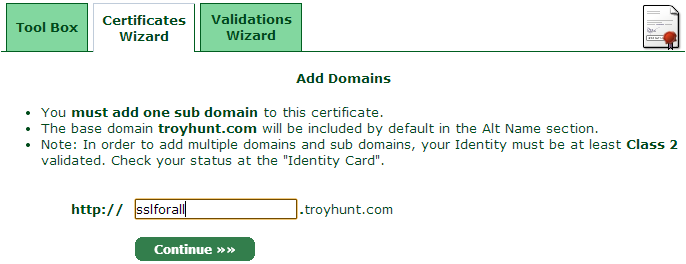
Now we get to the point where the subdomain I bound to Azure is required. Once that’s done we’re reaching the pointy end of the cert request process:
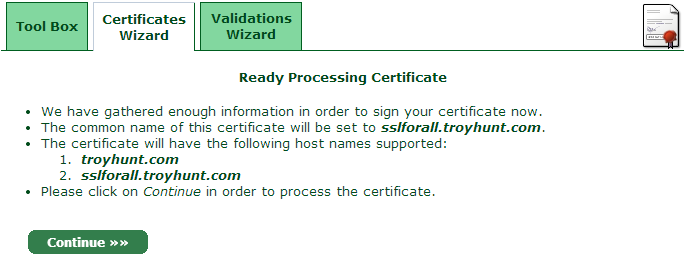
Process the certificate then… wait:
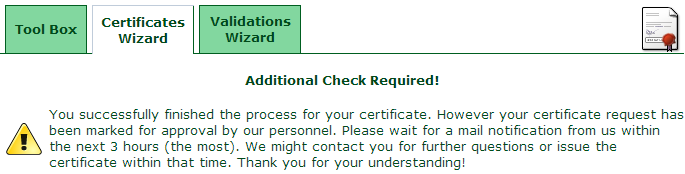
A little bit later you’ll get an email like this:
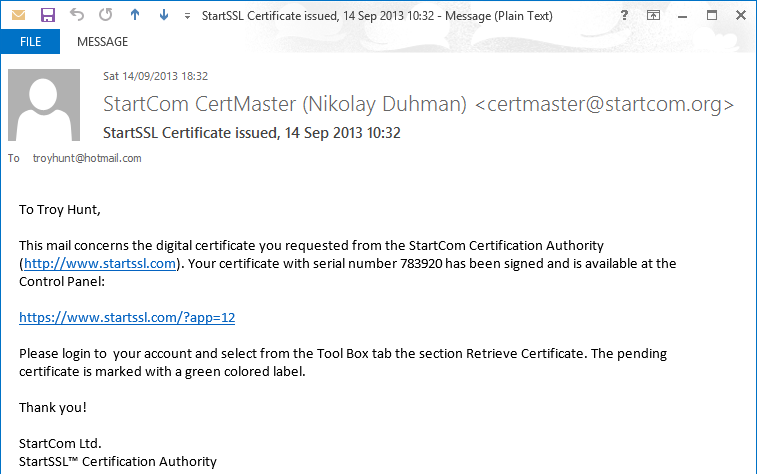
Sometimes this email can take a while as there does indeed appear to be a human process behind it. I’ve had it take until the next day on previous occasions, however this time it was only minutes. Anyway, over to the “Tool Box” tab and the “Retrieve Certificate” link:

The cert I just requested (as well as previous ones I’ve set up) can now be selected and continuing on from there serves it up for us:

Another copy and paste job and I’ll save this locally as public.cer.
There’s just one more thing we need and it’s the sort of thing that you’ll go through trial and error pain to realise – unless you’re reading this! We need the StartSSL intermediate certificate as without it the certificate chain can’t be completed and the browser will chuck a wobbly. Jump over to the “StartCom CA Certificates” link and save the “Class 1 Intermediate Server CA” file:
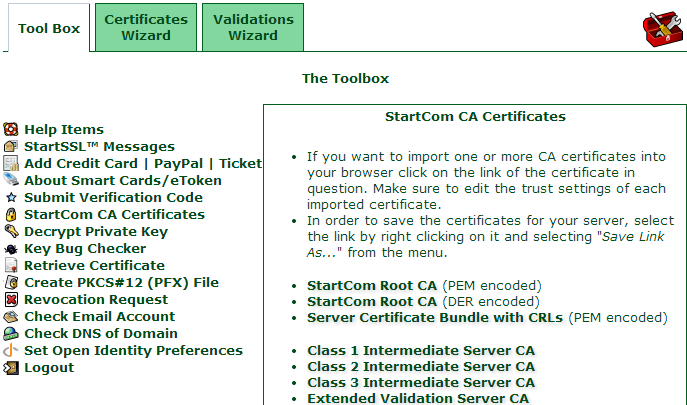
That’ll give you a file called sub.class1.server.ca.pem so whack that in the same folder as the private and public keys.
Awesome, now we can do the final piece and that’s getting it up and running in Azure.
5. Configure and upload the cert to Azure
Back in Azure and on the same “Configure” screen we used to bind the domain, let’s jump on down to “Certificates”:

When you go to upload a certificate, here’s what happens:
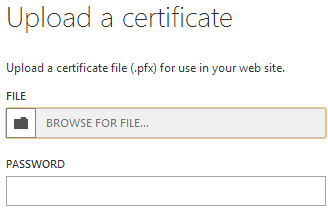
Huh? But I don’t have a .pfx! This is a personal information exchange file and it consists of the private key and the certificate all rolled into one and protected by a password – that’s what we need to get to. Here’s what we have at present:
- A private key
- The password used to encrypt it
- The certificate (public key)
- The StartCom intermediate certificate
The glue that’ll tie all this together is OpenSSL which is an open source toolkit for performing a bunch of SSL related functions. There are other tools out there but hey, this is free and very popular so it must be ok! Grab that and install it on your machine. Now for the real magic – running OpenSSL to generate the .pfx:
"C:\Program Files (x86)\GnuWin32\bin\openssl.exe" pkcs12 -export -in public.cer -inkey ssl.key -certfile sub.class1.server.ca.pem -out mycert.pfx -password pass:G0So06RIe7svPllokaRx
Pretty much everything in the command above is the files we’ve already saved (the three certs), the only variable is the password switch at the end. This is a new password that you’re using to protect the .pfx – it’s not the password you used to encrypt the private key (more on that in a moment).
Anyway, once that runs it’ll give you this:

Now you need the password for the private key. Remember, this is the one we created right back at the start of the certificate wizard. Without it the private key can’t be decrypted and not much will happen. Get it right and the process above will terminate and you’ll now have a nice little personal information exchange file called mycert.pfx.
Cool, now back over to Azure and the “Upload a certificate” dialog from earlier:
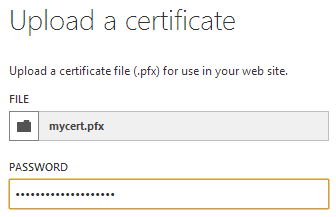
This password is the one we just created and passed as a parameter to the OpenSSL command. Once the cert is uploaded it’ll appear on the Azure configuration screen:
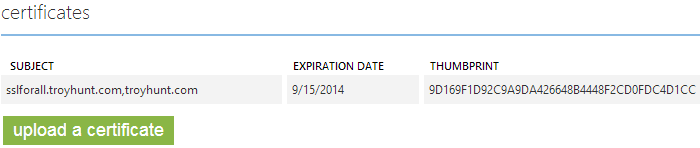
Now there’s just one more step – we need to bind the cert. A little further down the same Azure page is the “SSL bindings” section:

I’ve selected the domain name we created earlier then chosen the cert we just uploaded and finally selected SNI SSL. This is a cheaper path than IP based SSL but it also has some limitations with regards to support for older machines (i.e. it won’t play nice with IE8 on Windows XP). Once again, choose wisely.
There’s one more very important step that’s easy to miss: save the change! There’s a big “Save” button down at the bottom of the page and it’s rather important. Once you save you’ll get a warning about a cost impact then it’s done and dusted. Of course the real test is to load the site over HTTPS so in this case I’m hitting https://sslforall.troyhunt.com and all things going well, exactly the same screen I showed earlier over HTTP will appear – which it does! Just to be sure, let’s jump in and check the cert:
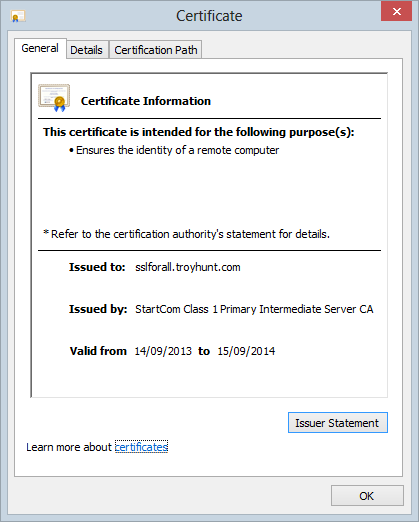
Success!
Summary
So that’s it, the entire end to end process. If I’m honest, it could be made easier; the StartSSL interfaces are a bit clunky and it would be nice of Azure not to require a .pfx and provide a bit more flexibility in terms of the formats it would accept. Also, if you get any of this wrong in terms of generating, loading and binding the certificate, you won’t be told what went wrong, you’ll just get a great big certificate error:
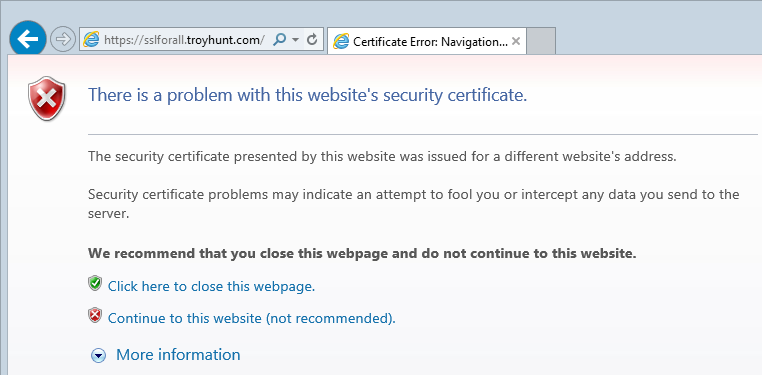
In a case like this, the certificate being returned to the browser is just the *.azurewebsites.net one which obviously isn’t valid for our custom domain. This is the sort of thing you’ll see happen if, for example, you don’t load up the intermediate certificate. It’s not necessarily something that can be controlled at the Azure end, but it’s worthwhile being conscious that troubleshooting this really ain’t fun.
The process above is easy now but I’ll be honest and say there was a considerable degree of frustration in joining all the dots to get there. That’s why I’ve written this post so at least in the future it should be a simple task.
Enjoy your new found sense of transport layer security!